Effective Guide to How to Lay Pavers for a Stunning Outdoor Space in 2025
Understanding the Basics of Paver Installation
Before diving into the details of how to lay pavers, it’s essential to understand the fundamentals of paver installation. Laying pavers can dramatically enhance your outdoor space, whether you are considering patio pavers, pathway designs, or even driveway pavers. In this section, we will cover various aspects such as different types of pavers, essential tools, and the significance of proper paver base preparation. A strong foundation is crucial for ensuring longevity and aesthetic appeal in all your outdoor pavers projects.
Types of Pavers to Consider
When learning how to lay pavers, one of the first things to consider is the type of paver you wish to use. There are several options available, including concrete, natural stone, brick, and clay. Each type has its unique characteristics and aesthetic appeal, which can significantly affect your paver design. For instance, concrete pavers are highly durable and versatile, making them an excellent choice for high-traffic areas. On the other hand, natural stone pavers can create a more rustic and elegant appearance. Understanding the paver material options specific to your climate can also help in making informed decisions for your project.
Tools Needed for Laying Pavers
Each DIY paver project requires specific tools to ensure proper installation. The essential tools for laying pavers include a rubber mallet, level, shovel, compactor, and paver stones cutter. It’s vital to have the right tools on hand, as they can significantly simplify the paver installation steps, allowing for a more efficient and accurate process. Moreover, being equipped with proper safety gear, such as gloves and eye protection, can prevent injuries during the paver installation process.
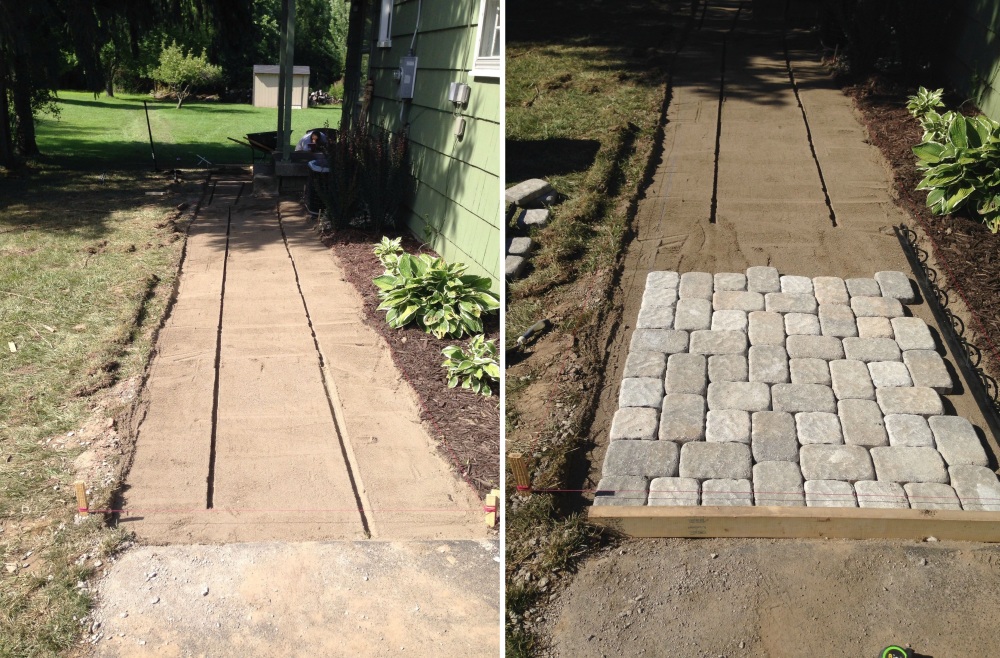
Preparing Your Site
Preparing the site for your paver installation is crucial. This involves clearing the area, leveling the ground, and ensuring proper drainage by grading the soil to create a slight slope. Understanding paver drainage solutions can help prevent water pooling, which often leads to damage and uneven surfaces. Taking these initial steps may seem tedious, but they are foundational to a successful project and will ultimately enhance the functionality and longevity of your patio or walkway.
The Paver Base Preparation Process
Proper paver base preparation is essential for the structural integrity of your paving project. A well-prepared base ensures that your pavers lie flat, stay in place, and can handle the weight placed upon them. This section will detail the steps involved in preparing your base, from selecting materials to evaluating the soil composition.
Establishing the Base Material
To begin with paver base preparation, suitable materials should be selected, such as gravel or crushed stone. A deep base of about 4-6 inches of compacted gravel is often recommended for driveways and patios. This layer helps distribute weight and improves drainage, making it easier to ensure effective paver alignment. Always consider the thickness of your paver base requirements based on the specific type of pavers being used, as heavier stones may warrant additional base depth.
Compacting the Base Layer
Once you’ve laid down your base material, the next step is to compact the layer effectively. Using a mechanical compactor or a hand tamper will compress the gravel, ensuring no air pockets remain, which could lead to shifting later on. Proper leveling of pavers begins from this preparatory stage, as a well-compacted base contributes to the overall stability of the paver installation.
Applying Paver Sand
After compacting the aggregate base, the next step in paver installation is to lay a 1-inch layer of sand on top. This layer acts as a leveling bed and cushion, allowing for slight adjustments when placing pavers. Using a landscape rake can assist in creating an even spread of paver sand. Remember to lightly compact the sand after placing it, as this further ensures a stable surface for setting your pavers.
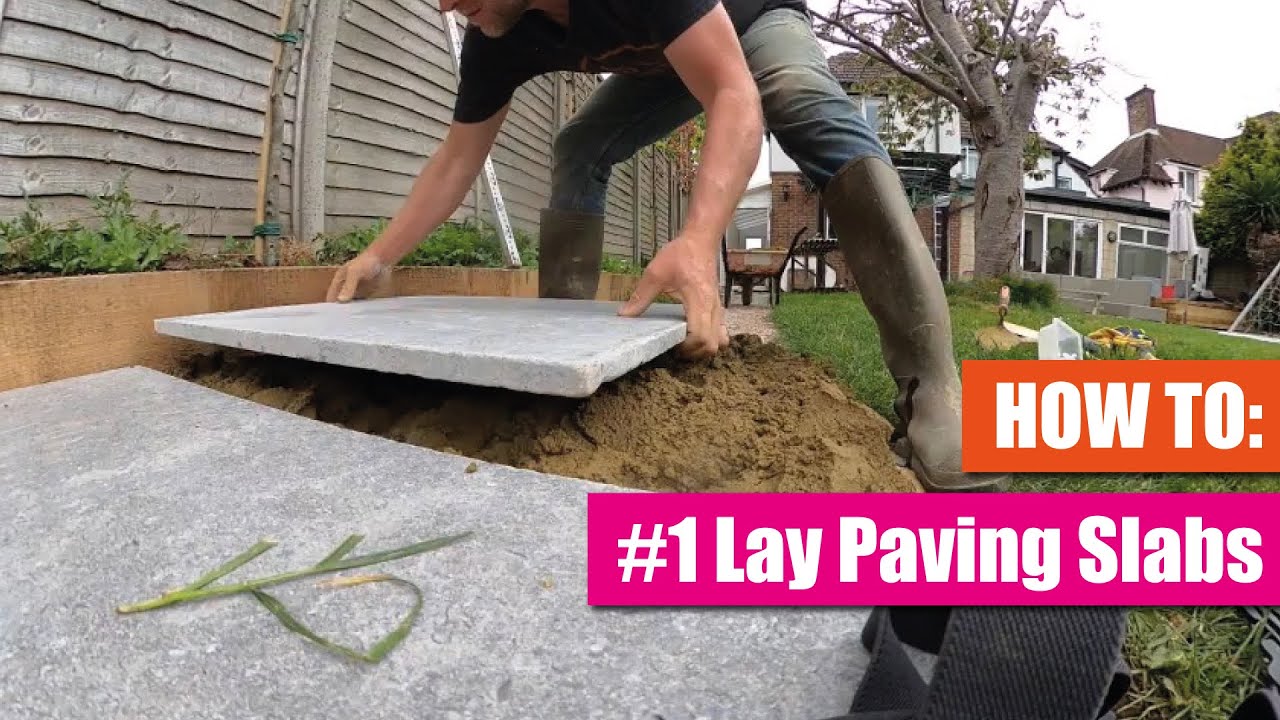
Laying and Arranging the Pavers
Now that you’ve laid the foundation, the fun begins: laying the pavers. The design and paver layout will determine the overall visual effect. In this section, we’ll explore different patterns, techniques, and tips for achieving a beautiful and durable patio, pathway, or driveway.
Choosing Your Paver Pattern
Choosing a paver pattern is essential for aesthetics. Common patterns include herringbone, basketweave, and running bond designs. Choosing the right pattern not only beautifies your outdoor space but also helps with the strength and stability of the layout. Consider guest flow and functional use when designing your outdoor space. For instance, a herringbone pattern is an excellent choice for high-traffic areas as it naturally locks the pavers in place, preventing shifting.
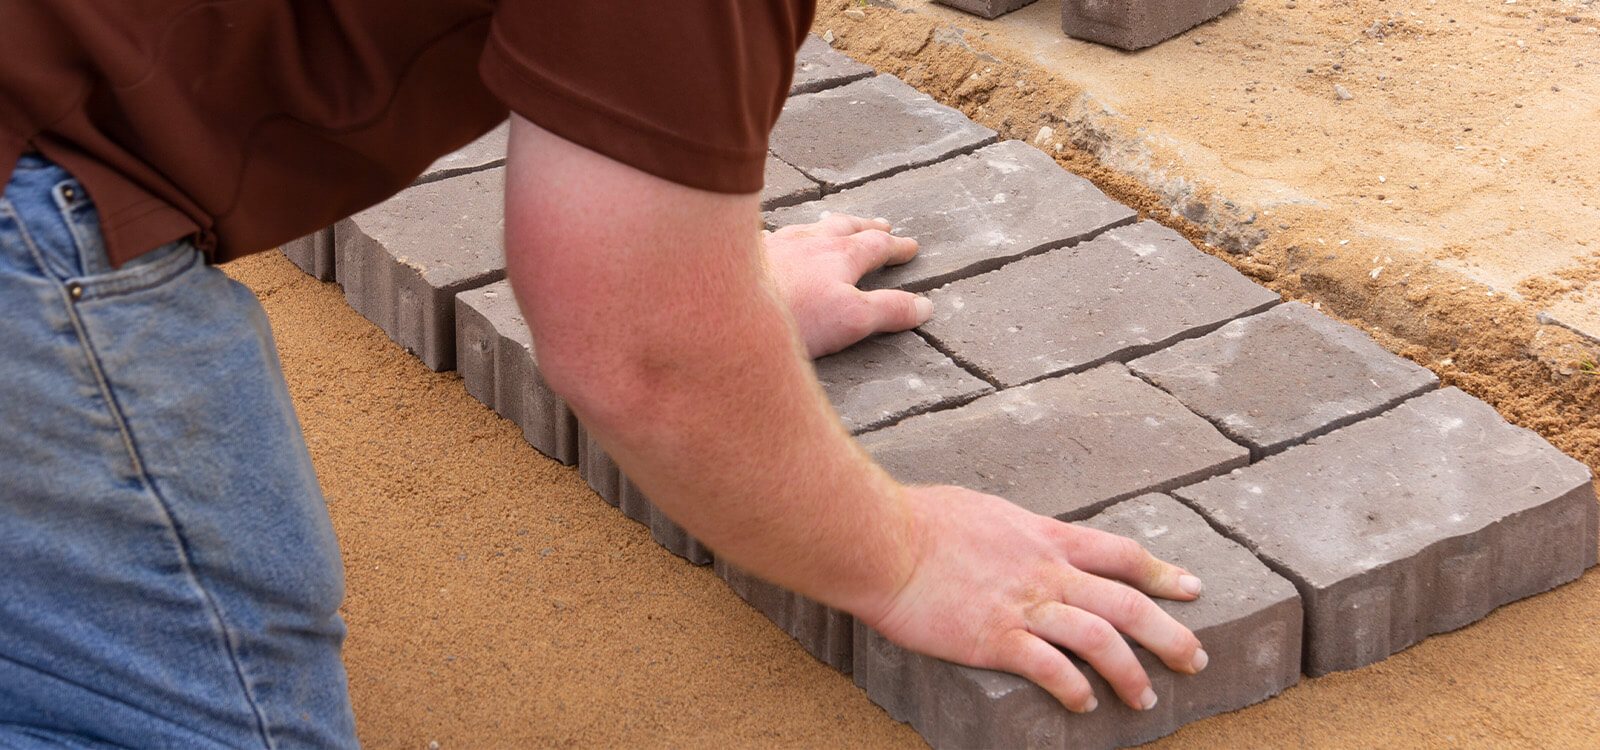
Setting the Pavers in Place
When you start setting your pavers, begin from a corner or edge and work your way across the area. Place each paver carefully, using plastic spacers if necessary to maintain uniform paver joints. A rubber mallet can help settle each stone into the sand without causing damage. Take your time to ensure proper alignment and spacing; this can make all the difference in the finished look of your paved area.
Final Touches and Maintenance
After all the pavers are laid, you can add sanding to fill the gaps, which is called joint fill or paver sand. This step stabilizes the pavers and prevents weed growth between joints. Follow this with some light compaction of the pavers. Lastly, consider sealing your pavers for improved longevity, a vital step in effective paver maintenance. Regular care not only preserves the look of your pavement but also mitigates potential issues that could arise over time.
Conclusion
Laying pavers can seem daunting, but with the right knowledge and preparation, it can be a fulfilling DIY project. Proper planning, attention to detail, and following the steps outlined can lead to creating stunning outdoor spaces that enhance home value and aesthetic appeal. Don’t hesitate to explore further landscaping options and designs for your outdoor needs!
FAQ
1. What are the main steps in paver installation?
The primary steps involved include site preparation, selecting the right materials, laying the paver base, arranging pavers according to your chosen pattern, filling joints with paver sand, and sealing the finished surface. Each of these steps plays a crucial role in achieving a durable and aesthetically pleasing result.
2. How do I choose the right pavers for my climate?
Essentially, consider the durability and weather resistance of the materials. For instance, stone pavers are often suitable for colder climates as they withstand freezing temperatures better than others. Consulting with local suppliers about types of pavers suited for your regional weather can also provide helpful insights.
3. What kind of maintenance do outdoor pavers require?
Seasonal maintenance typically includes washing the surface, checking and replacing paver sand, and sealing every few years. During winter, it’s essential to avoid using deicing salts that can damage certain paver types. Regular maintenance will extend the lifespan of your paving.
4. Can I install pavers on a slope?
Yes, installing pavers on a slope is possible but requires extra precautions. It’s crucial to use correct paver slope considerations and ensure drainage pathways are adequately established to prevent erosion. Using interlocking paver systems can offer better stability.
5. Is it necessary to seal my pavers?
While not strictly necessary, sealing your pavers can offer numerous benefits, such as improved resistance to stains, oil, and weathering while enhancing the color and aesthetic appeal of your patio or driveway. Regular sealing also aids in easier cleaning and overall maintenance.
6. What tools do I need for a successful paver installation?
You’ll require a rubber mallet, level, shovel, compacting machine, cutting tools, and generally basic masonry skills for laying the pavers correctly. Having the right tools will simplify the process and yield better results.
7. Are there eco-friendly options for pavers?
Yes! Many options incorporate recycled materials or sustainable practices. Pervious pavers, for instance, allow water to drain through, reducing runoff and aiding in stormwater management. Exploring these alternatives can contribute positively to your landscaping aesthetics.