“`html
How to Properly Install Drywall: Effective Tips for a New Project in 2025
Installing drywall can transform the look and feel of any space. Whether you’re renovating a room or constructing a new building, **drywall installation** is a crucial step in achieving a polished finish. This guide will walk you through the essential steps, tools, and techniques for effective drywall installation, equipping you with the knowledge you need for success in your project in 2025.
Understanding Drywall Basics
Before diving into your drywall project, it’s important to understand the **drywall basics**. Drywall, also known as gypsum board or wallboard, comes in sheets that are typically 4×8 feet or larger. Knowing the different **drywall types**—including standard, moisture-resistant, and soundproof options—will help you choose the right material for your specific needs. The quality of your drywall can influence everything from insulation to fire resistance, so consider the environment you’ll be working in.
Choosing the Right Drywall Sheets
When selecting **drywall sheets**, take into account not just the size but also the application. For areas with high moisture like bathrooms and kitchens, opt for moisture-resistant drywall to avoid issues like mold and mildew. For soundproofing, look for sound-rated drywall options. Choosing the right type of drywall can enhance your space’s functionality and longevity. You may also consider the thickness; generally, 1/2-inch thick board is sufficient for walls, while 5/8-inch is ideal for ceilings due to its added structural integrity.
Basic Tools Needed for Drywall Installation
Equipping yourself with the right **drywall tools** is essential for a smooth installation process. Key tools include a drywall knife, T-square, tape measure, and a drywall lift, which is particularly useful for ceiling installation. A cordless drill and **drywall screws** are also vital for fastening your sheets to the framing securely. Understanding how to use each tool efficiently will improve your overall productivity and result in a cleaner finish.
Preparing for the Drywall Installation Process
Preparation is critical in the **drywall installation process**. Proper planning can help avoid common mistakes and ensure a smooth workflow. Start by measuring your walls accurately to determine how many sheets of drywall you need. Creating a **drywall layout** can streamline the placement of your sheets, taking into consideration any windows, doors, or outlets. This phase not only saves time but also reduces waste, making your project more efficient.
Measuring and Cutting Drywall
When it comes to **drywall measurements**, precision is key. Use a measuring tape to get accurate dimensions of the wall. Once you’ve recorded your measurements, you’ll need to cut your drywall sheets accordingly. Utilizing a utility knife makes cutting straight lines easier—score the front side and then snap the board. For more intricate cuts around outlets and corners, a drywall saw or jab saw is recommended. Always wear protective gear to ensure safety while cutting.
Drywall Hanging Techniques
**Drywall hanging techniques** can significantly affect the outcome of your project. Begin hanging drywall from the top of the wall down. Secure the upper sheets first to create a level starting point, then install lower sheets. Use **drywall screws** rather than nails for better holding power. Be mindful of spacing your screws properly—place them every 16 inches on the studs, and ensure they are countersunk into the drywall surface without breaking the paper. This ensures a strong bond and prepares the surface for finishing.
Finishing Your Drywall
Once your drywall is installed, the next step is **drywall finishing**. This involves taping, mudding, and sanding to create a smooth, paint-ready surface. Proper finishing is a meticulous process that requires patience and skill but pays off significantly in the final results of your project. Understanding this phase will enhance the aesthetics of your newly-installed drywall and maximize overall wall impact.
Applying Drywall Tape and Compound
To create seamless joints, start by applying **drywall tape** over the seams between sheets. There are various types, including paper and mesh tape—each suited for different applications. After taping, apply the first layer of **drywall mud** with a taping knife or drywall knife, ensuring it covers the tape completely. Allow it to dry, then proceed with additional layers of mud, with sanding in between until you achieve a smooth, blended appearance.
Sand and Texture Options for Drywall
The final step in **drywall finishing** is sanding. Utilizing a pole sander or drywall sanding block will help you smooth out any rough patches. Make sure to wear a mask to avoid inhaling dust. After sanding, you might want to add texture to your drywall—this can be done using various techniques such as knockdown or slap brush. Texturing not only adds character but can also help hide imperfections.
Common Drywall Mistakes to Avoid
<pBy understanding and recognizing common **drywall mistakes**, you can enhance the quality of your drywall installation and reduce the risk of rework. Familiarize yourself with these typical pitfalls and how to avoid them, ensuring a successful project.
Misaligning Your Drywall Sheets
Proper alignment is essential during installation; misaligned sheets can lead to unsightly seams and potential structural issues. Always ensure your drywall is properly aligned with the stud layout, taking the time to double-check measurements before securing sheets in place. A mistake at this stage can cause significant delays and additional work later in the project.
Neglecting to Allow for Expansion and Contraction
Ignoring the need for **drywall moisture** considerations, such as space for expansion and contraction, can lead to cracked seams and bulging panels over time. Make sure to leave appropriate gaps at edges and corners, especially in areas where moisture fluctuations are common or where exterior walls meet interiors.
Key Takeaways
- Choose the right type of drywall suited for your project needs.
- Accurate measurements and cutting are crucial for efficient installation.
- Careful finishing techniques ensure a seamless and professional appearance.
- Avoid common mistakes by paying attention to alignment and expansion needs.
FAQ
1. What are the different types of drywall?
There are several types of drywall including standard, moisture-resistant, soundproof, and fire-resistant drywall. Each serves different purposes and is suited for specific locations or applications in a building. For instance, moisture-resistant drywall is ideal for bathrooms, while soundproof drywall is useful in offices to minimize noise between rooms.
2. How do you tape drywall seams effectively?
To tape drywall seams effectively, first apply a thin layer of **drywall mud** over the seam. Lay the tape over the mud and press it down with your hand or a knife to remove air bubbles. Then, apply additional mud over the tape, ensuring it is covered evenly. It usually takes 2-3 coats of mud, with sanding in between, to achieve a smooth finish.
3. How do you avoid drywall cracks over time?
To avoid drywall cracks, ensure proper installation techniques, including securing the drywall correctly to studs and leaving space for expansion and contraction at joints. Also, controlling humidity and temperature levels in your environment can help prevent cracks due to dryness or excessive moisture.
4. What safety precautions should be taken during drywall installation?
Safety is paramount during **drywall installation**. Always wear protective goggles and masks to guard against dust and debris. Make sure to handle tools properly, and take precautions when lifting heavy drywall sheets, possibly using a drywall lift or getting assistance from another person to avoid injuries.
5. Can you paint drywall immediately after installation?
It’s essential to finish the drywall, ensuring that all seams are taped and mudded, and all surfaces are sanded smooth before painting. After finishing, it is best to wait 24 hours to let the drywall mud fully cure before painting, ensuring better adhesion and a more even finish.
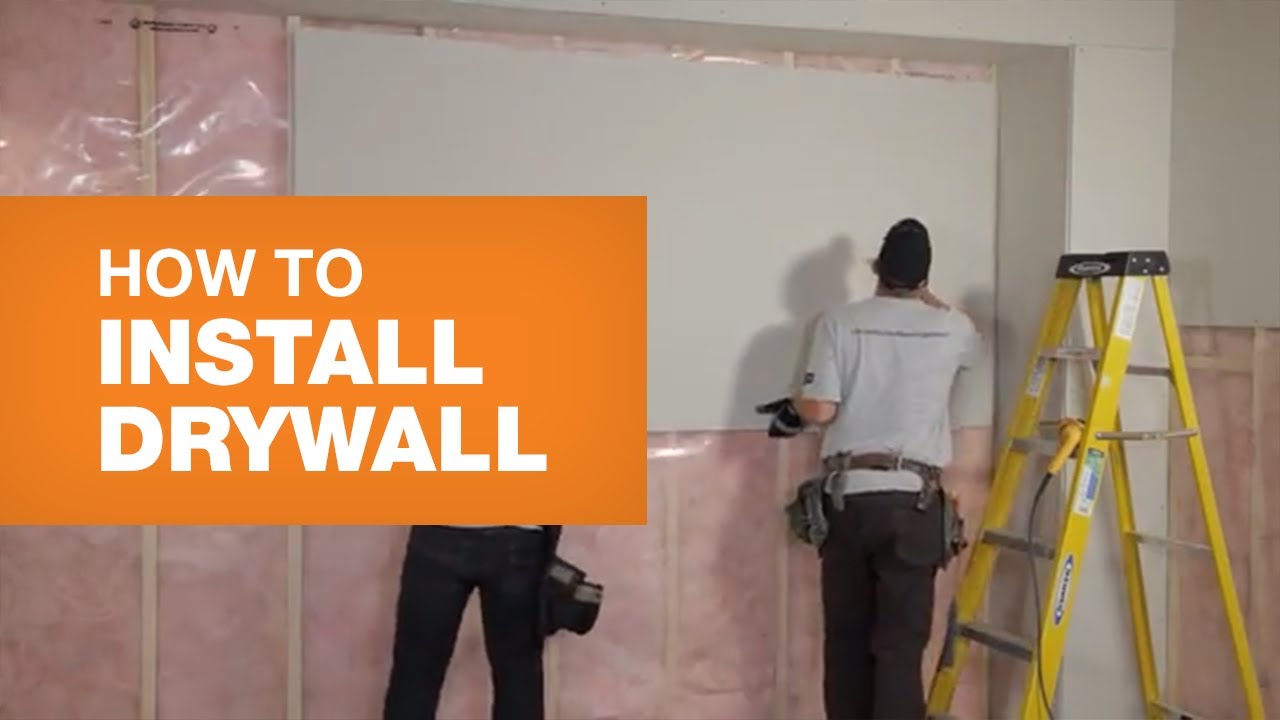
For a visual guide on drywall installation and helpful tips, check out this resource. Additionally, for more detailed insights into the drywall installation process, visit this link.
“`